
3D Printing onto Fabric
Did you know you can use your Ultimaker to print directly on fabric?
You could maybe create a company T-shirt or perhaps add some unique 3 dimensional designs to your T-shirt ?
You can 3D print directly onto fabric with your Ultimaker using standard PLA, ABS, or other regular filament. This method works for printing on relatively porous fabrics with holes like cotton. We do recommend using flexible filament, this way the printed object will be able to flex with the movement of the fabric. Avoid using thick fabrics as it may not adhere properly. But by all means experiment with different fabrics.*
Disclaimer* The following is purely experimental, Imaginables is not responsible for any damage that may have be cause to the 3D Printer or on the fabric. Only attempt this at your own risk.
The critical step to 3D Printing onto fabric on your Ultimaker to pause the print after printing the first few layer so the filament forms a sandwich with the fabric. 3D Printing on a t-shirt is a slightly different process.
Before trying this on your favourite shirt or expensive fabric, test this out on scrap fabric or an old T-shirt you no longer want.
Setting up your G-Code in CURA
Placing your 3D model. place your model upside down on the bed, this way you will be able to easily lay your T-shirt around the bed. Print at a slightly higher temperature, this way the printed material will "melt" into the fabric for a stronger bond.
In Cura you will need to go to the "switch to full settings" under Expert tab. Once in there you will need to go to Plugins and add Pause at Height.

You will need to pause your print twice through the print job.
1st time is to lay the fabric on the printer bed for the printer to print on.
2nd time is to pause the print just before it finishes.
*IMPORTANT* Pausing the print before you finish is important, because if you don't, the Ultimaker will reset back the bed down to the bottom. If this happens you will here a horrible sound as the printer tries to lower the bed and doesn't touch the z-limit axis because there may be fabric below the bed preventing it from lowering. It is possible that this may cause damage to your z-axis rod.
See the image below of the settings. note the order of the pause at height plugins. The first one which happens at height 0.4mm is ordered below the second plugin that pauses at 1.25mm. If you don't follow this order, it won't successfully pause it two times.
Also note the head park Height we used Head Park at X and Y at 100mm and 190mm respectively. This allows the print head to park at the back and middle of the printer. Also note the Head mode z, We allowed at least 50mm to give yourself enough clearance to be able to successfully lay and manoeuvre the fabric on the bed before you clamp it down with clips.

Printing
Start Printing! Wait for the first few layers to print and for the Printer to pause at the first height.
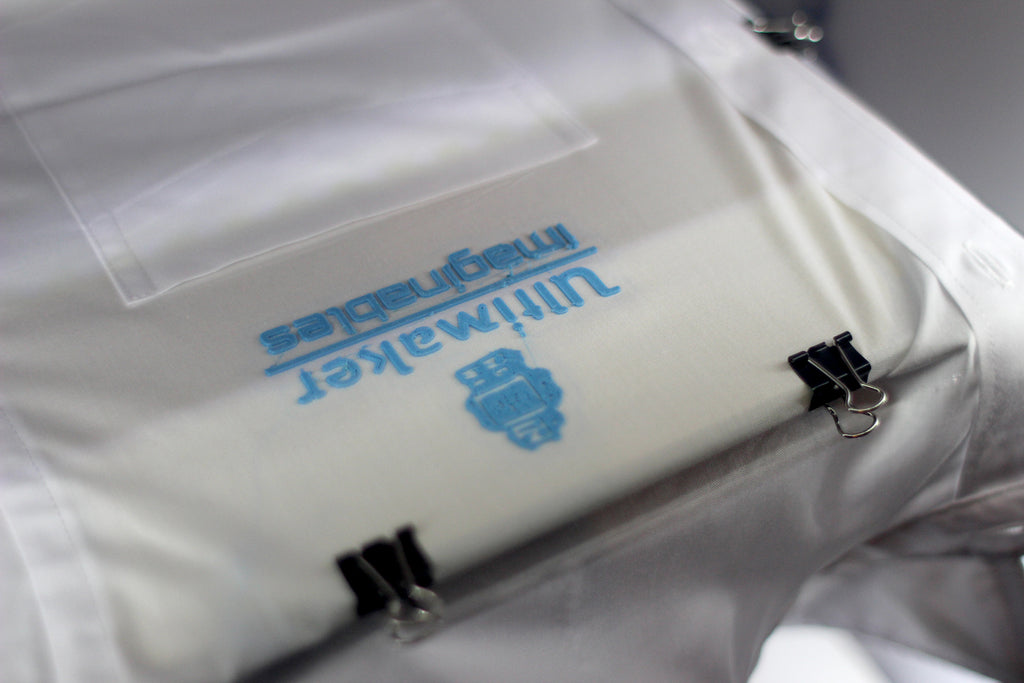
Once the printer is in its rest position, gently place one side of your shirt on the build plate.
We recommend using some masking tape on the fabric to help frame and align your print to your fabric. You can remove the masking tape after you are happy with the alignment.
Smooth the fabric on the build plate and use numerous bulldog clips to hold the fabric taut at the middle and corners. Ensure the fabric is as taut as possible as stretching the fabric helps open up the fabric to allow the material to seem into the porous openings. Wrinkles in the fabric will interfere with the print. Watch out for cables and other moving parts and check that the clips won’t hit the extruder. Also you want to make sure your beautiful fabric doesn't touch the z axis, as the grease will stain your cloth badly.
More importantly you don't want the fabric to get tangled in the z-axis. This can cause major damage if the fabric get caught in the z-axis.
Be sure you are only printing on one side of your shirt, not both the front and back.
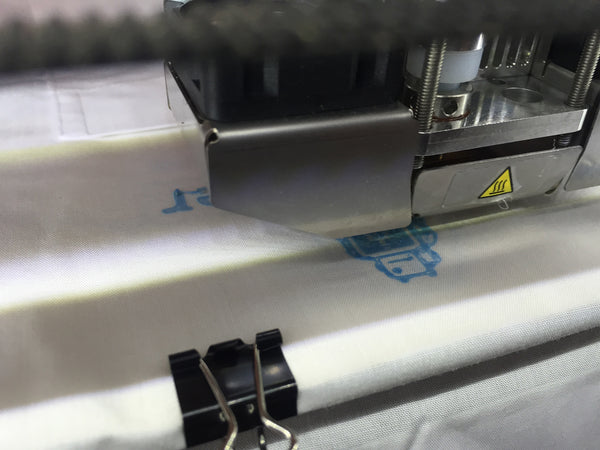
Start your print. Watch the printer for the first couple of layers to be sure the extruder head isn’t pulling the fabric too much. Be careful when adjusting anything on the build plate, the extruder head is hot!
Reinforcement with Fabric Glue.
To ensure your 3d printed design stays affix to the cloth you will need to reinforce it with fabric glue which you can easily purchase from Spotlight or Lincraft.
There are two ways you can do this
- On the inside of your shirt cover the backside of the print with enough fabric glue to permeate your fabric and stick to the print of the front.
- On the outside of your shirt you can also use a fine tip to spread a thin layer of glue along the edges of the print where it meets your t shirt fabric.
Washing and Care
Ensure you don't wash with hot water and wash in a gentle cycle. Use a laundry washing bag when washing in a washing machine. Do not iron the printed area, as it will melt the plastic. Do not Steam Clean.
Going to give it a go? Share your photos by sharing them on our facebook. www.facebook.com/Imaginables3D/


This instructions were inspired by a similar instructions by Sahrye Cohen and Hal Rodriguez
Disclaimers: The content of the webinars, podcasts, videos, etc contained on, linked by or referred to on this page may have been created and/or owned by the relevant brand owners or other third parties. As such, Imaginables cannot warrant or make any representation as to the content's suitability or reliability.